Bathroom Leakage After New Construction: What to Check Before Re-Tiling or Waterproofing
A damp bedroom wall, a stain on the ceiling below your bathroom or water appearing near the door can be frustrating—especially when the house is newly built. The first advice you receive may be to replace the tiles or apply another waterproofing coating.
Before paying for bathroom re-tiling or waterproofing, establish where the water is coming from. A leaking supply pipe, defective waste connection and failed wet-area waterproofing require different repairs. Replacing the finish without identifying the source can leave the original problem unresolved.
This homeowner guide explains possible causes, a practical inspection process, the difference between plumbing and waterproofing concerns, and questions to ask a repair contractor. If you need a bathroom leakage inspection in Hyderabad, use it to prepare for an evidence-based assessment.
Quick Answer: What Should You Check First?
Start with the leak’s location and timing. Does it worsen after a shower, after flushing, during rain or even when the bathroom is unused? Inspect accessible fittings and drainage, review existing test records, and arrange controlled checks of one possible source at a time. Treat these patterns as clues, not a diagnosis.
New tiles, grout or paint are not a substitute for repairing the source of active water entry. The appropriate repair may be a local plumbing correction, joint repair, drainage improvement, partial opening or a complete waterproofing rebuild—depending on the findings.
Why Can a New Bathroom Leak?
New construction can contain incomplete joints, damaged connections or waterproofing details that were not properly executed or tested. Later drilling, fixture installation and service work can also disturb earlier work. More than one source may be present.
| Possible source | What needs investigation |
|---|---|
| Water-supply plumbing | Concealed or accessible joints, damaged pipes, fixture connections and pressure-related leakage. |
| Waste and soil connections | Basin traps, floor traps, WC connectors and concealed drainage joints. |
| Wet-area waterproofing | Continuity of the system, corners, upstands, thresholds, penetrations and drain interfaces. |
| Shower enclosure and surface joints | Failed sealant, gaps around fittings and water escaping beyond the intended wet area. |
| Drainage and floor falls | Blocked outlets, reverse falls or prolonged ponding that increases exposure. |
| Another moisture source | Nearby services, terrace or external-wall entry, condensation or residual construction moisture. |
Manufacturer guidance also distinguishes leaking plumbing, waterproofing defects and poorly sealed joints as possible bathroom moisture sources. The visible stain alone cannot identify which one applies. See Asian Paints’ bathroom waterproofing guidance.
Symptoms: Useful Clues, Not Proof
| Observation | Possible direction for investigation | Important limitation |
|---|---|---|
| Dampness continues when the bathroom is unused | Supply lines, adjoining sources or retained moisture. | Previously absorbed water can remain visible after a source is isolated. |
| Leak appears after shower use | Shower connections, enclosure joints, floor/drain interfaces or waterproofing. | Showering activates several possible sources together. |
| Leak appears after flushing | WC connector or waste/soil line. | Other concurrent water use must be separated. |
| Stain on the ceiling below | Source in the bathroom or nearby services above. | Water can travel before emerging; the stain may not lie directly below the defect. |
| Wetness near the door | Splash escape, threshold detailing, floor falls or water travelling within layers. | Surface appearance does not establish the condition of the membrane. |
| Symptoms worsen in rain | Terrace, external wall or rainwater connections. | A nearby bathroom may be wrongly blamed. |
| White deposits or peeling paint | Moisture movement through the finish or masonry. | These signs do not establish the source or whether leakage remains active. |
What to Do Before the Inspection
- Photograph the affected area and note when the problem first appeared.
- Record shower use, flushing, rain and any changes in the stain.
- Collect plumbing layouts, construction photographs, waterproofing records and earlier repair details.
- Inform the original contractor in writing and retain relevant warranty or defect-liability documents.
- Keep accessible valves and fittings available for inspection.
- Arrange access to the room below or adjoining wall, with the occupier’s permission.
Limit use of an activity that clearly worsens the leak until it is assessed. If water is near electrical fittings, avoid the affected point and arrange a qualified electrician. Bulging ceiling finishes or loose plaster need prompt attention and a safe exclusion area. Do not open concealed services or electrical fittings yourself.
A Step-by-Step Bathroom Leakage Inspection Process
Step 1: Record the History and Map the Affected Areas
The inspector should ask when the leakage started, whether it is continuous or intermittent, which activities trigger it and what repairs have already been attempted. Map affected surfaces inside the bathroom, in neighbouring rooms and below.
Mark the observation date and locations. A single photograph is less useful than a comparable sequence showing whether the affected area is growing, stable or drying.
Step 2: Inspect Accessible Fittings and Joints
Check under basins, around angle valves, flexible connectors, mixers, cisterns and accessible waste connections. Observe them during controlled operation and afterwards. Review shower enclosure edges, threshold joints and drain surrounds.
Do not overlook a local leak simply because waterproofing is suspected. At the same time, a visible joint defect should not automatically be assumed to explain every damp area.
Step 3: Check Water-Supply Plumbing
A qualified plumber can assess the supply system and plan appropriate isolation or pressure testing. The method must suit the pipe material, fittings, equipment and manufacturer’s requirements. Sensitive fixtures may require isolation.
Record the section tested, test medium, pressure, duration and result. A pressure change requires interpretation: test setup, trapped air, temperature and passing valves can affect observations. Avoid applying a single universal pressure to every bathroom.
Step 4: Test Fixtures and Waste Routes Separately
Operate fixtures in a controlled sequence so that the basin, WC, shower and floor drainage are assessed separately where practical. A competent professional may direct water into a waste route without wetting the wider floor, helping distinguish a drainage concern from surface water exposure.
Record which fixture ran, for how long, the observation locations and any delayed response. Water movement through construction layers may take time, so an immediate dry surface does not establish a complete pass.
Step 5: Review Waterproofing and Wet-Area Details
Review available evidence for the waterproofing system, substrate preparation, corners, pipe penetrations, drain interface, threshold and wall upstands. Identify later work that may have damaged it.
Where a controlled ponding or wetting test is justified, agree on safe access, test area, water depth, duration, monitoring and drainage arrangements first. Follow the selected system and project requirements. Do not deliberately flood a bathroom that is already causing damage without a competent test plan.
Dr. Fixit’s guidance describes bathroom-to-ceiling leakage as potentially involving pipes, floor waterproofing or junctions, and explains that a conventional under-tile waterproofing layer sits beneath the finish. See Dr. Fixit’s bathroom waterproofing FAQs.
Step 6: Use Instruments as Supporting Evidence
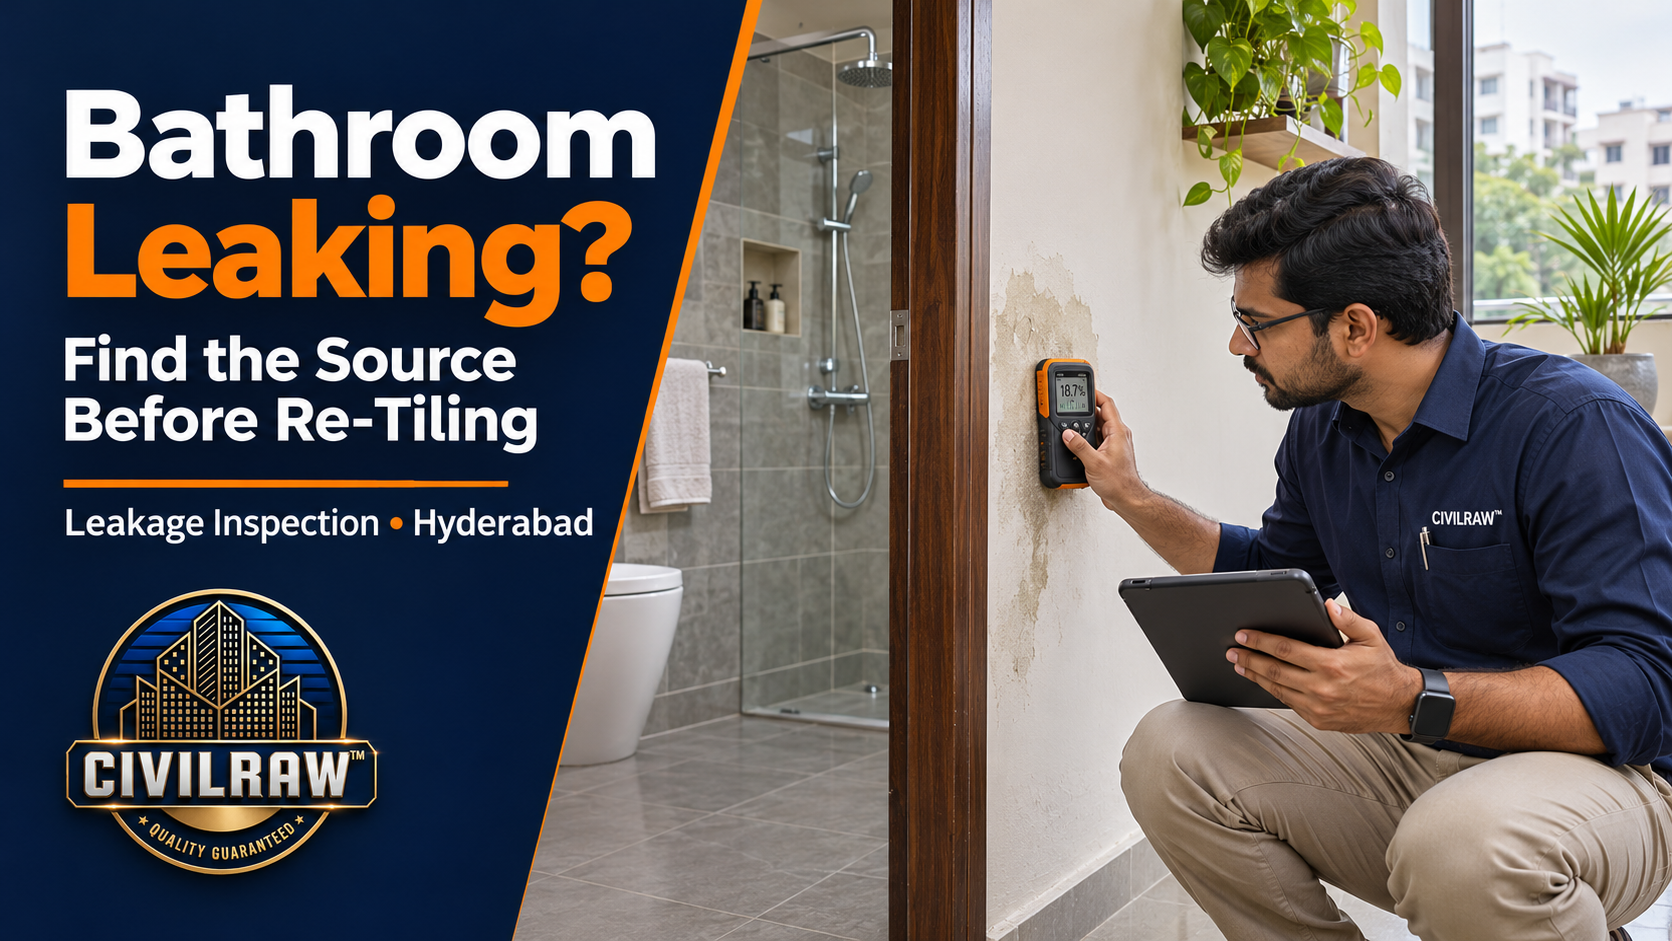
A moisture meter can help map relative changes across comparable surfaces. Readings depend on the instrument, material, salts and nearby metal. They do not independently locate a leaking pipe or measure all materials on the same basis.
Thermal imaging, where suitable, shows temperature patterns. An apparent cool area is not proof of leakage. Interpret instrument findings alongside visual inspection, operating history and controlled tests.
Step 7: Decide Whether Targeted Opening Is Needed
If non-destructive checks cannot establish the source, a limited opening may be needed. Agree on its location, purpose, permissions and reinstatement scope before proceeding. Check service routes and obtain appropriate advice before opening areas near structural components.
Photograph exposed conditions before repair. The assessment should distinguish confirmed findings, suspected causes and unresolved questions.
Plumbing Repair or Waterproofing Repair: How Do You Decide?
| Evidence | Potential repair direction |
|---|---|
| Accessible supply connection leaks during operation | Repair or replace the defective connection and retest. |
| A particular waste route produces leakage | Investigate and rectify the relevant trap, connector or waste line. |
| Water escapes through a shower-enclosure perimeter | Assess seals, alignment and joint detailing; verify after repair. |
| Controlled wetting supports a membrane or junction concern | Define local repair feasibility or a wider waterproofing rebuild. |
| Outlet obstruction or poor falls causes ponding | Clear drainage or assess falls; investigate associated water-entry paths. |
| Tests do not isolate a source | Continue investigation rather than treating an assumed cause as confirmed. |
These are investigation directions, not remote diagnoses. Plumbing and waterproofing defects can coexist, and one repair may not resolve every source.
When Is Re-Tiling Actually Necessary?
Removing tiles may be justified when access is needed to repair concealed services, the waterproofing system must be rebuilt, or the substrate and finish need correction. It should follow a defined repair scope.
Ask what removing the tiles will expose, which defect will be repaired, how the waterproofing will connect to drains and penetrations, and how the completed work will be tested.
Re-tiling alone replaces the finish; it does not automatically repair a failed pipe or waterproofing system. Re-grouting and surface treatments may suit specific defects, but should not be sold as universal solutions for active leakage.
Questions to Ask a Bathroom Repair Contractor
- What is the confirmed source, and what evidence supports it?
- Which causes have been checked, and what remains uncertain?
- Is the proposal a plumbing repair, joint repair or waterproofing rebuild?
- Why is tile removal necessary, and how much will be opened?
- Which product system and current technical instructions will you follow?
- How will corners, drains, penetrations and thresholds be detailed?
- What preparation, drying and curing periods are required?
- Which tests will be completed before work is concealed?
- What photographs and written test records will I receive?
- Does the price include debris removal, fixtures, reinstatement and adjacent damage?
- What are the warranty conditions, exclusions and complaint process?
- What happens commercially if the original diagnosis is not confirmed after opening?
Sample Leakage Assessment Report
The following is an illustrative reporting format, not an actual CivilRaw site diagnosis.
| Report field | Example entry |
|---|---|
| Location | First-floor bathroom and ceiling of room below. |
| Reported symptom | Staining reportedly worsens after shower use. |
| Initial observations | Visible ceiling stain; accessible basin connections dry during the visit. |
| Checks completed | Visual review and separate fixture operation; methods and times attached. |
| Finding | Source not yet confirmed; wider wet-area testing remains pending. |
| Next action | Agree on controlled isolation and drainage checks before selecting repairs. |
| Limitations | Concealed joints and membrane not visible; no opening undertaken. |
| Evidence | Location photographs, operating log and instrument details where used. |
| Responsibility | Named plumber / repair contractor for agreed next checks. |
| Closure requirement | Repair records, repeat relevant tests and follow-up observations. |
A useful report can conclude that further testing is needed. It should not present an unverified suspicion as a confirmed diagnosis simply to recommend a product.
What Should a Detailed Repair Quotation Include?
Ask for line items covering assessment, protection, dismantling, plumbing work, substrate repairs, waterproofing, tile reinstatement, fixtures, testing, waste disposal and finishing. Clarify quantities, rates, exclusions, applicable taxes and payment stages.
Bathroom size alone cannot establish the repair price. Access, the actual defect, concealed services, tile availability, system selection and reinstatement affect the scope. Avoid comparing a small joint repair with a complete bathroom rebuild as if they were identical.
Before approving a repair bill, refer to our contractor bill verification guide.
Verify the Repair Before Closing the Work
- Inspect and photograph repaired services before covering them.
- Repeat the relevant plumbing or drainage checks.
- Inspect waterproofing details before protective layers and tiles conceal them.
- Allow product-specific curing before testing and normal use.
- Keep test records and dated photographs.
- Monitor affected areas over an agreed follow-up period.
- Repaint or reinstate moisture-sensitive finishes only when conditions are suitable.
Stains can remain after a source has been repaired, and construction layers can take time to dry. Agree on how improvement will be assessed. Neither an old stain nor a single dry visit alone establishes the long-term result.
Frequently Asked Questions
Does a ceiling stain below a bathroom always mean waterproofing failure?
No. Supply pipes, waste connections, wet-area details or another nearby source may be involved. Investigate the route before selecting a repair.
Can bathroom leakage be repaired without breaking tiles?
Sometimes, if the confirmed defect is accessible or a suitable local repair can address it. Concealed plumbing damage or a failed underlying system may require opening. Suitability must be assessed on site.
Will epoxy grout stop every bathroom leak?
No. Grout treatment cannot be assumed to repair leaking pipes, defective waste connections or discontinuities in the underlying waterproofing system.
Can a moisture meter identify the exact leaking pipe?
Not on its own. It can support moisture mapping, but readings need interpretation and corroboration through other checks.
How much does a bathroom leakage inspection in Hyderabad cost?
The assessment scope depends on access, affected areas, service availability and the testing needed. Share photographs and site details for a quotation that identifies included checks and any separately priced specialist work.
Can I book an assessment before accepting a newly completed house?
Yes. Record the leakage and agree on investigation and correction before handover discussions. Our pre-handover inspection checklist covers other finishes, services and records to review.
Request a Leakage Assessment in Hyderabad
Seeing damp patches, ceiling stains or recurring bathroom leakage in a newly built house? Establish the source before choosing re-tiling or waterproofing.
Share your Hyderabad site location, property type, bathroom floor level, photographs, when the leak occurs and any earlier repairs. CivilRaw can discuss an assessment scope, access requirements and whether specialist plumbing tests or further investigation are needed.
Explore CivilRaw services for homeowner-focused technical oversight and inspection support.
CivilRaw — Your Engineer. Your Partner.

Planning Your Construction?
Don't rely on guesswork. Get a transparent, engineer-backed estimate for your home.
Get Cost Estimate