Brickwork Quality Checklist: What to Inspect Before Plastering Your House
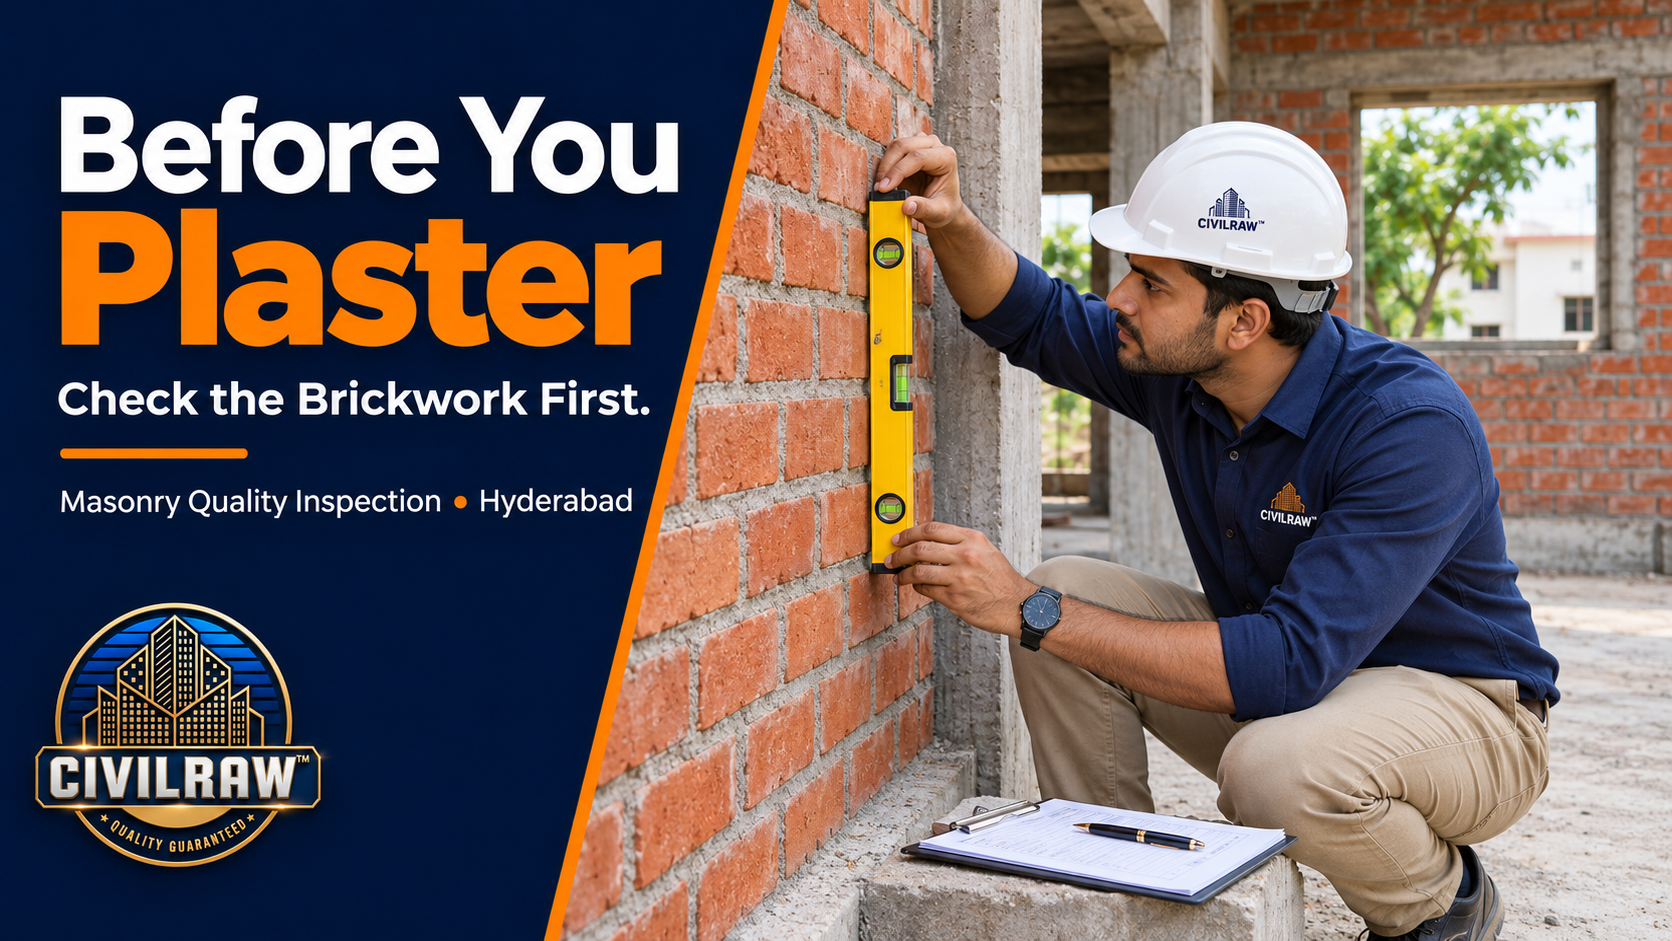
Your house walls are built, service work is underway and the contractor is ready to plaster. Once the finish covers the masonry, how will you check the wall positions, joint workmanship and junction details beneath it?
Inspect brickwork before plastering to record accessible masonry condition, compare wall positions and openings with approved drawings, and verify corrections before they are concealed. Some checks also need to happen during wall construction; a final visual visit cannot recover every hidden detail.
This brickwork quality inspection guide for Hyderabad homeowners covers alignment, openings, junctions, chasing, preparation and reporting. It explains what to ask the site team without substituting homeowner thumb rules for the project design.
Quick Answer: What Should You Check Before Plastering?
- Current architectural, structural and service drawings.
- Wall locations, thicknesses and room dimensions.
- Alignment, verticality, surface straightness and corners.
- Door, window, shaft and service openings.
- Visible bonding, joint workmanship and damaged units.
- Wall-to-wall and wall-to-concrete junction details.
- Lintels and other supports against the relevant design.
- Service chases, embedded routes and damage from cutting.
- Curing and substrate readiness under the specified system.
- Recorded defects, completed corrections and reinspection.
Do not accept “the plaster will hide it” as an explanation for unresolved masonry defects. Plaster is a finish system; it is not a general repair for incorrect geometry, unstable masonry or unauthorised cutting.
When Should a Masonry Inspection Be Scheduled?
Use staged checks. Verify setting-out before walls rise, inspect relevant details during construction, and review the completed masonry before plastering. Arrange another check where later service chasing changes the condition.
Give the engineer time to identify corrections and allow the team to implement them. Inspecting moments before the plaster crew starts leaves little room for proper resolution.
Record areas already concealed as a limitation. Do not mark them passed simply because neighbouring walls look satisfactory.
1. Start with Drawings and Wall Type
Confirm the correct floor, revision and approved layout. Identify the masonry material and whether the wall is load-bearing, infill, partition or another designed element.
An RCC-framed building should not be assumed to permit arbitrary wall changes. Wall loads and connections can affect the frame and the proposed use.
| Document | What to establish |
|---|---|
| Architectural layout | Wall positions, room sizes and opening locations. |
| Structural details | Relevant supports, lintels, connections and restrictions. |
| Service layout | Planned routes, outlets, shafts and sleeves. |
| Material specification | Unit type, mortar or adhesive and preparation requirements. |
| Inspection requirements | Acceptance criteria, staged checks and records. |
Clay brick, concrete block and AAC systems can have different installation and preparation requirements. Do not apply one universal mortar ratio, joint size or wetting rule to every masonry system.
2. Check Wall Positions and Room Dimensions
Measure against established reference lines and agreed drawing dimensions. Clarify whether room sizes are to masonry faces or finished faces before comparing them.
- Confirm walls align with the intended layout and supports.
- Measure critical room widths and lengths.
- Check toilet, kitchen and utility clearances.
- Verify door approaches, circulation and planned furniture zones.
- Record offsets or thickness differences before finishes reduce space further.
A measurement taken from an incorrect starting reference can make a straight wall appear correct in the wrong position. Use consistent datums and label the measured locations.
If a wall position differs from the drawing, obtain the appropriate review. Do not shift or demolish it without considering support, services and design implications.
3. Check Plumb, Level and Straightness
A competent inspector can use suitable levels, straightedges, lines or surveying tools to assess alignment and verticality. Check more than a convenient short section.
| Check | Meaning |
|---|---|
| Plumb | Whether the wall is vertical within the applicable acceptance criteria. |
| Course level | Whether courses follow the required level. |
| Straightness | Whether the wall face deviates along its length or height. |
| Corners and squareness | Whether geometry matches the intended layout. |
| Junction alignment | Whether adjoining walls and openings meet as detailed. |
Record actual deviations, the measurement length and the governing specification. A photograph of a spirit level alone is weak evidence without a location and reading.
There is no single tolerance stated here for every wall system. Apply the project’s relevant specification and requirements. Do not use excessive plaster thickness to conceal deviations without assessing suitability.
4. Inspect Openings Before Frames Arrive
Check door and window positions, masonry opening sizes, sill levels and head levels against drawings and the selected frame system. Coordinate plaster, tile and floor-finish allowances.
- Verify width and height at the relevant points.
- Check jamb alignment and opening squareness.
- Confirm the intended finished-floor reference.
- Review lintels and other support details with the responsible professional.
- Check ventilation, exhaust and service openings.
- Confirm frame fixing provisions without uncontrolled cutting.
A nominal door size is not automatically the required masonry opening. Frame sections, fixing gaps and finish build-ups must be coordinated.
If an opening needs enlargement or relocation, refer the change before cutting. Do not remove masonry or alter a support based only on the frame installer’s preference.
5. Review Bonding, Joints and Unit Condition
Look for patterns and visible workmanship against the specified masonry system. Record damaged units, poorly formed junctions, open joints or loose areas for professional review.
For conventional brickwork, review the intended bond and visible filling of relevant bed and vertical joints. Joint treatment for plaster should follow the specification. Some systems have different joint profiles or adhesives, so the assessment must be system-specific.
CPWD’s 2019 specifications, masonry section provide technical background on brickwork and bonding. They apply to your private project only to the extent specified or otherwise relevant; do not mix details from different masonry systems.
Do not hammer or push a potentially unstable wall to test it. Loose, leaning or damaged work needs a competent assessment and safe access controls.
6. Inspect Wall-to-Wall and RCC Junctions
Review wall intersections, corners, terminations and connections to concrete columns or beams. Confirm the connection, restraint, movement and interface details specified for the building.
- Check available staged photographs of concealed connections.
- Verify accessible ties, anchors or reinforcement where detailed.
- Review the top-of-wall condition and specified closure or movement detail.
- Record gaps, separation and previous patches.
- Coordinate any specified junction treatment before plastering.
Mesh is not a universal substitute for a properly designed junction. Its type, fixing, location and purpose should follow the specified system. Likewise, forcing mortar into every top gap may conflict with an intended movement detail.
Where connection details are missing or inconsistent, seek clarification rather than inventing a site solution.
7. Check Service Chasing and Embedded Work
Electrical and plumbing work can damage otherwise acceptable masonry. Review routes before cutting and inspect the affected walls again before making good and plastering.
| Concern | Required response |
|---|---|
| Deep or extensive chasing | Check suitability with the responsible designer / engineer. |
| Long horizontal cuts | Review before proceeding; do not assume the wall can accommodate them. |
| Back-to-back boxes or chases | Assess remaining section and relevant performance requirements. |
| Cutting near openings or supports | Review support and local detailing implications. |
| Chasing into columns or beams | Stop the unauthorised work and obtain structural review. |
| Loose units after cutting | Assess and repair appropriately before concealment. |
Do not treat a generic chasing-depth rule as permission for every wall. Restrictions depend on material, thickness, role and detail. Service routes should be coordinated to avoid unnecessary cutting.
Before closure, verify relevant embedded-service checks and records. A smooth patch does not establish that a concealed pipe was tested.
8. Review Moisture, Curing and Plaster Readiness
Check the construction history and specified curing or preparation requirements for the masonry and mortar system. A finished wall photograph cannot prove that earlier curing was adequate.
- Review relevant site records and completion dates.
- Investigate persistent dampness and visible water-entry signs.
- Remove unsuitable contamination using the approved preparation method.
- Check joint and surface preparation for the selected plaster system.
- Allow required conditions and waiting periods before finishing.
- Protect installed services, frames and nearby completed work.
Do not plaster over active leakage to hide a stain. Identify the source first. Our bathroom leakage guide explains the distinction between plumbing and waterproofing concerns.
9. Record Cracks and Unusual Conditions
Record visible cracking before patching, including its location, route and any associated separation or distortion. Do not assume all masonry cracking is cosmetic.
Where a wall is visibly unstable, bulging, leaning or shedding material, keep people clear and obtain prompt professional advice. Cracks in structural members or other concerning signs may need structural-engineer assessment.
See when to call a structural engineer for cracks. A general masonry checklist is not a structural safety certificate.
Sample Masonry Inspection and Correction Register
Illustrative entries only, not observations from an actual CivilRaw project.
| ID / location | Observation | Required action | Closure evidence |
|---|---|---|---|
| M-01 / Bedroom wall | Position differs from referenced layout. | Confirm measurement and obtain appropriate instruction. | Approved clarification and verified correction. |
| M-02 / Bathroom door | Opening not coordinated with frame and floor finish. | Resolve dimensions with design and supplier teams. | Rechecked opening measurements. |
| M-03 / Living room junction | Connection detail not available for verification. | Obtain detail and relevant construction evidence. | Engineer review recorded. |
| M-04 / Service wall | Damage and loose units around chase. | Assess repair scope and verify services before closure. | Photographs and reinspection. |
| M-05 / External wall | Visible damp patch. | Investigate source before plastering. | Relevant checks and follow-up recorded. |
Each observation should include the date, drawing reference, responsible person, target date and status. Use separate statuses for open, contractor-reported complete, verified closed and not inspected.
Photographs Worth Keeping Before Plastering
- Wide view of each room with wall references.
- Door and window openings with relevant dimension checks.
- Wall-column and wall-beam junctions.
- Planned service routes and accessible embedded work.
- Defects before correction and after approved preparation.
- Corrected areas before final concealment.
Keep originals, label copies and organise them by floor and room. Close-ups need a wider location view so they remain useful after every wall looks similar.
Who Should Clear the Area for Plastering?
Define the project’s review and release process. The contractor completes the work and corrections; the appointed professional verifies within scope; the relevant designer resolves design changes.
Record the area released, date, drawing revision, closed items and limitations. Release should follow relevant masonry and embedded-service checks. If later cutting changes the condition, revisit the affected work.
A periodic visit captures accessible conditions at that time. It does not verify every concealed joint or replace execution supervision.
Questions to Ask the Contractor
- Which drawing revision governs these walls?
- Have room sizes and openings been measured before frames and finishes?
- What tolerances and inspection method are being used?
- How were wall-to-frame junctions constructed and recorded?
- Are service routes approved and relevant tests complete?
- How will masonry damaged by chasing be repaired?
- Which observations remain open before plastering?
- Will correction photographs and reinspection records be provided?
Frequently Asked Questions
Can plaster correct a wall that is out of alignment?
Plaster can form a finish within its intended system, but it is not a general solution for incorrect wall position or excessive deviations. Assess the underlying issue and the suitability of any proposed treatment.
Should every RCC-masonry junction have the same mesh?
No universal detail is prescribed here. Follow the specified connection, movement and plaster-interface treatment for the actual building and materials.
Can I use the same checklist for AAC blocks?
The broad subjects remain useful, but materials, joints, curing and connection requirements may differ. Use the appropriate system specifications and manufacturer instructions.
Is service chasing included in the masonry inspection?
Only if agreed. Coordinate inspection after relevant chasing and before closure, with service verification records where required.
What if the walls are already plastered?
A finished-surface inspection can review accessible signs, but it cannot recreate the full pre-plaster view. The engineer may need records or targeted investigation for specific concerns.
How much does a brickwork quality inspection in Hyderabad cost?
The fee depends on floors, wall scope, access, drawing review and reinspection needs. Share the project details for a written quotation.
Book a Masonry Quality Inspection in Hyderabad
Before plaster hides your brickwork, get a documented review of accessible walls, openings, junctions and service-related damage.
Share your site location, floors, current stage, drawings and planned plastering date. CivilRaw can discuss the inspection scope, reporting, correction review and any separate structural or service assessment needed.
Read our stage-wise quality inspection guide or explore CivilRaw services.
CivilRaw — Your Engineer. Your Partner.

Planning Your Construction?
Don't rely on guesswork. Get a transparent, engineer-backed estimate for your home.
Get Cost Estimate